| Table of Contents | |||||
|---|---|---|---|---|---|
|
...
|
Description
Acsenv allows you to deploy acs development environments with ease. It can set up:
...
On the other hand, lightweight development environments can be created through Docker. That setup comes handy when you need to edit files and perform compilation from command line. Docker containers are great to run your TAT tests. Your development cycle can be speed up through the use of containers.
The following operating systems are supported:
- Mac OS X Catalina
- Linux Ubuntu
This tool has been tested in Ubuntu 20.04 and Mac OS Catalina 10.15.6
How it works?
Often, when it is time to develop code for ACS, you end up trying to mixed up these elements:
...
Both VM and containers are provisioned through Ansible playbooks.
Install Guide
Ansible Acsenv
Ansible Acsenv can be cloned from:
https://bitbucket.sco.alma.cl/scm/~pburgos/ansible_acsenv.git
VirtualBox 6.1
Download Virtualbox from official site:
...
Warning: acs needs at least 4GB (4096MB) of memory.
...
Vault Pass
As you know, push passwords in clear code to a repository is a bad practice, even for environments intended for development. Sensitive information is encrypted using Ansible Vault. To allow ansible to decrypt the information you just need to add a file to the home of ansible_env folder. Example:
...
The cycle for a dev environment with virtual machine: build→ provision→destroy
build
Let's follow an example. Let's say that:
...
| Code Block | ||
|---|---|---|
| ||
vagrant --acs_repo=/Users/pburgos/Development/Repositories/bitbucket/almasw --acs_binary=/Users/pburgos/.acsenv/versions/COMMON-2020JUN/dist --acs_working=/Users/pburgos/.acsenv/versions/COMMON-2020JUN/working up acs01
Bringing machine 'acs01' up with 'virtualbox' provider...
==> acs01: Importing base box 'centos/7'...
==> acs01: Matching MAC address for NAT networking...
==> acs01: Setting the name of the VM: ansible_acsenv_acs01_1595780860590_42357
==> acs01: Clearing any previously set network interfaces...
==> acs01: Available bridged network interfaces:
1) en3: Thunderbolt Ethernet
2) en0: Wi-Fi (AirPort)
3) en1: Thunderbolt 1
4) en2: Thunderbolt 2
5) bridge0
6) awdl0
==> acs01: When choosing an interface, it is usually the one that is
==> acs01: being used to connect to the internet.
==> acs01:
    acs01: Which interface should the network bridge to? 1
==> acs01: Preparing network interfaces based on configuration...
    acs01: Adapter 1: nat
    acs01: Adapter 2: hostonly
    acs01: Adapter 3: bridged
==> acs01: Forwarding ports...
    acs01: 22 (guest) => 2222 (host) (adapter 1)
==> acs01: Running 'pre-boot' VM customizations...
==> acs01: Booting VM...
==> acs01: Waiting for machine to boot. This may take a few minutes...
    acs01: SSH address: 127.0.0.1:2222
    acs01: SSH username: vagrant
    acs01: SSH auth method: private key
    acs01:
    acs01: Vagrant insecure key detected. Vagrant will automatically replace
    acs01: this with a newly generated keypair for better security.
    acs01:
    acs01: Inserting generated public key within guest...
    acs01: Removing insecure key from the guest if it's present...
    acs01: Key inserted! Disconnecting and reconnecting using new SSH key...
==> acs01: Machine booted and ready!
==> acs01: Checking for guest additions in VM...
    acs01: No guest additions were detected on the base box for this VM! Guest
    acs01: additions are required for forwarded ports, shared folders, host only
    acs01: networking, and more. If SSH fails on this machine, please install
    acs01: the guest additions and repackage the box to continue.
    acs01:
    acs01: This is not an error message; everything may continue to work properly,
    acs01: in which case you may ignore this message.
==> acs01: Setting hostname...
==> acs01: Configuring and enabling network interfaces...
==> acs01: Rsyncing folder: /Users/pburgos/ansible_acsenv/ => /vagrant
==> acs01: Exporting NFS shared folders...
==> acs01: Preparing to edit /etc/exports. Administrator privileges will be required...
The nfsd service does not appear to be running.
Starting the nfsd service
==> acs01: Mounting NFS shared folders... |
provision
To provision our new created VM we will use ansible playbooks. It does not matter how many machines are active at a given time, ansible will provision the machines that are running at a given time. Be careful if you use Virtual Machines in your local hosts for other purposes. The following comand command will try to provision all machines in runnig running state.
| Code Block |
|---|
ansible-playbook -i vagrant.py vagrant_provision.yml |
destroy
You can destroy you VM to create a new one. These can happed when a different acs_binaries is needed.
...
Docker Container
To be added soon.
VPN Install on Centos 7 VM


Appendix: Accessing you VM through ssh
There are several ways to access your VM box through ssh. Let's review the alternatives:
Accessing from host through private network
Let's say we want to access to acs01. From boxes_config.yml file we review earlier, the private network IP for the host is 10.10.10.10. Then:
| Code Block |
|---|
❯ ssh almamgr@10.10.10.10
The authenticity of host '10.10.10.10 (10.10.10.10)' can't be established.
ECDSA key fingerprint is SHA256:1BQ60Rqfa7c1xxdytYKpXoLHqJKL8izw48maYxzCsBw.
Are you sure you want to continue connecting (yes/no/[fingerprint])? yes
Warning: Permanently added '10.10.10.10' (ECDSA) to the list of known hosts.
almamgr@10.10.10.10's password:
Last login: Sun Jul 26 22:55:45 2020 from 192.168.1.5
[almamgr@acs01 ~]$ |
Accessing from other Host in the Network through public IP
Let say we want to access from other computer in the network with ssh. From boxes_config.yml the public ip address is 192.168.1.155. Then:
| Code Block |
|---|
❯ ssh almamgr@192.168.1.155
almamgr@192.168.1.155's password:
Last login: Sun Jul 26 23:11:08 2020 from 192.168.1.5
[almamgr@acs01 ~]$ |
Accessing using vagrant ssh
Vagrant comes with their own tool to access a box through ssh. From the ansible_acsenv folder execute:
| Code Block |
|---|
❯ vagrant ssh acs01
Last login: Sun Jul 26 21:09:53 2020 from 10.0.2.2
/usr/bin/xauth:  file /home/vagrant/.Xauthority does not exist
[vagrant@acs01 ~]$ |
Appendix: Using RDP to connect to VM to display GNome Desktop
The VM comes preconfigured with RDP so that we can have access to Gnome Desktop to grab a Graphical Interface. Yo can use:
- Microsoft Remote Desktop for Mac OSX
- Remmina Client for Linux
Microsoft Remote Desktop

Microsoft Remote Desktop is available for free from the App Store
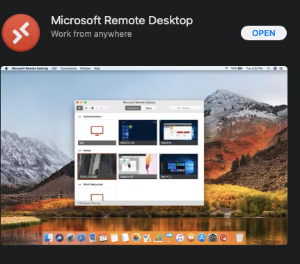
Yo can add your guest using the ip address for your box:
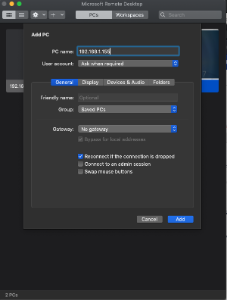
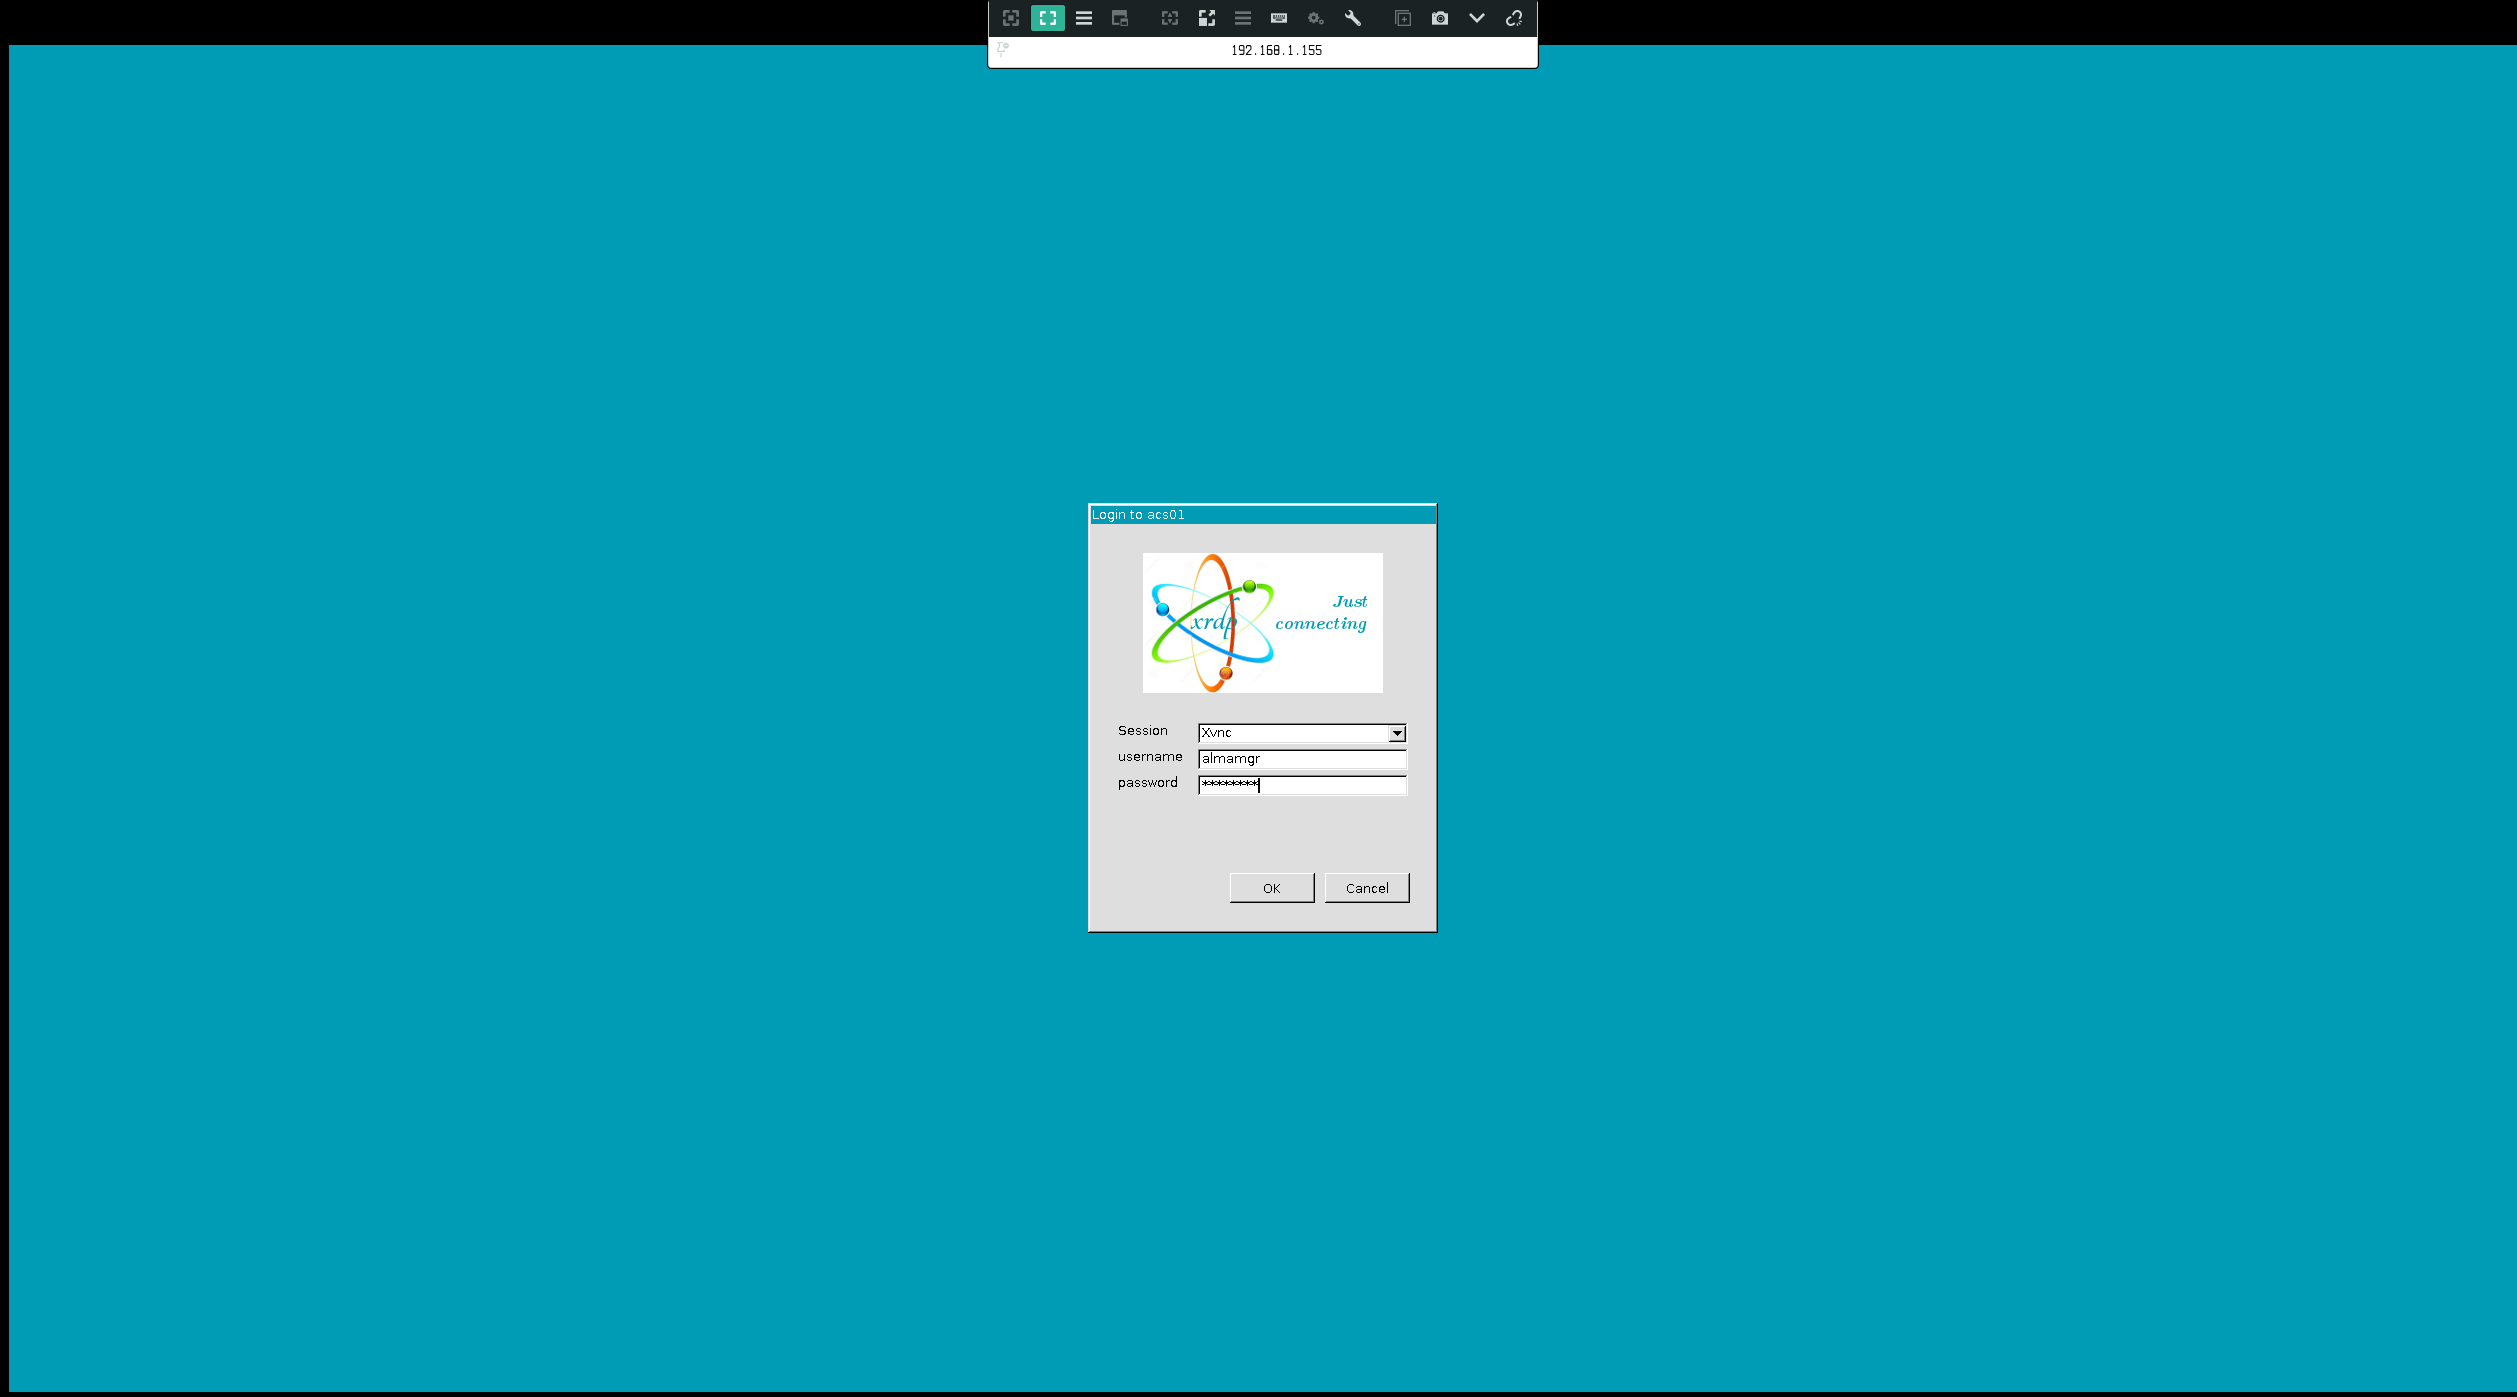
Once added, you can double click the desktop icon. A pop-up asking for password will appear:

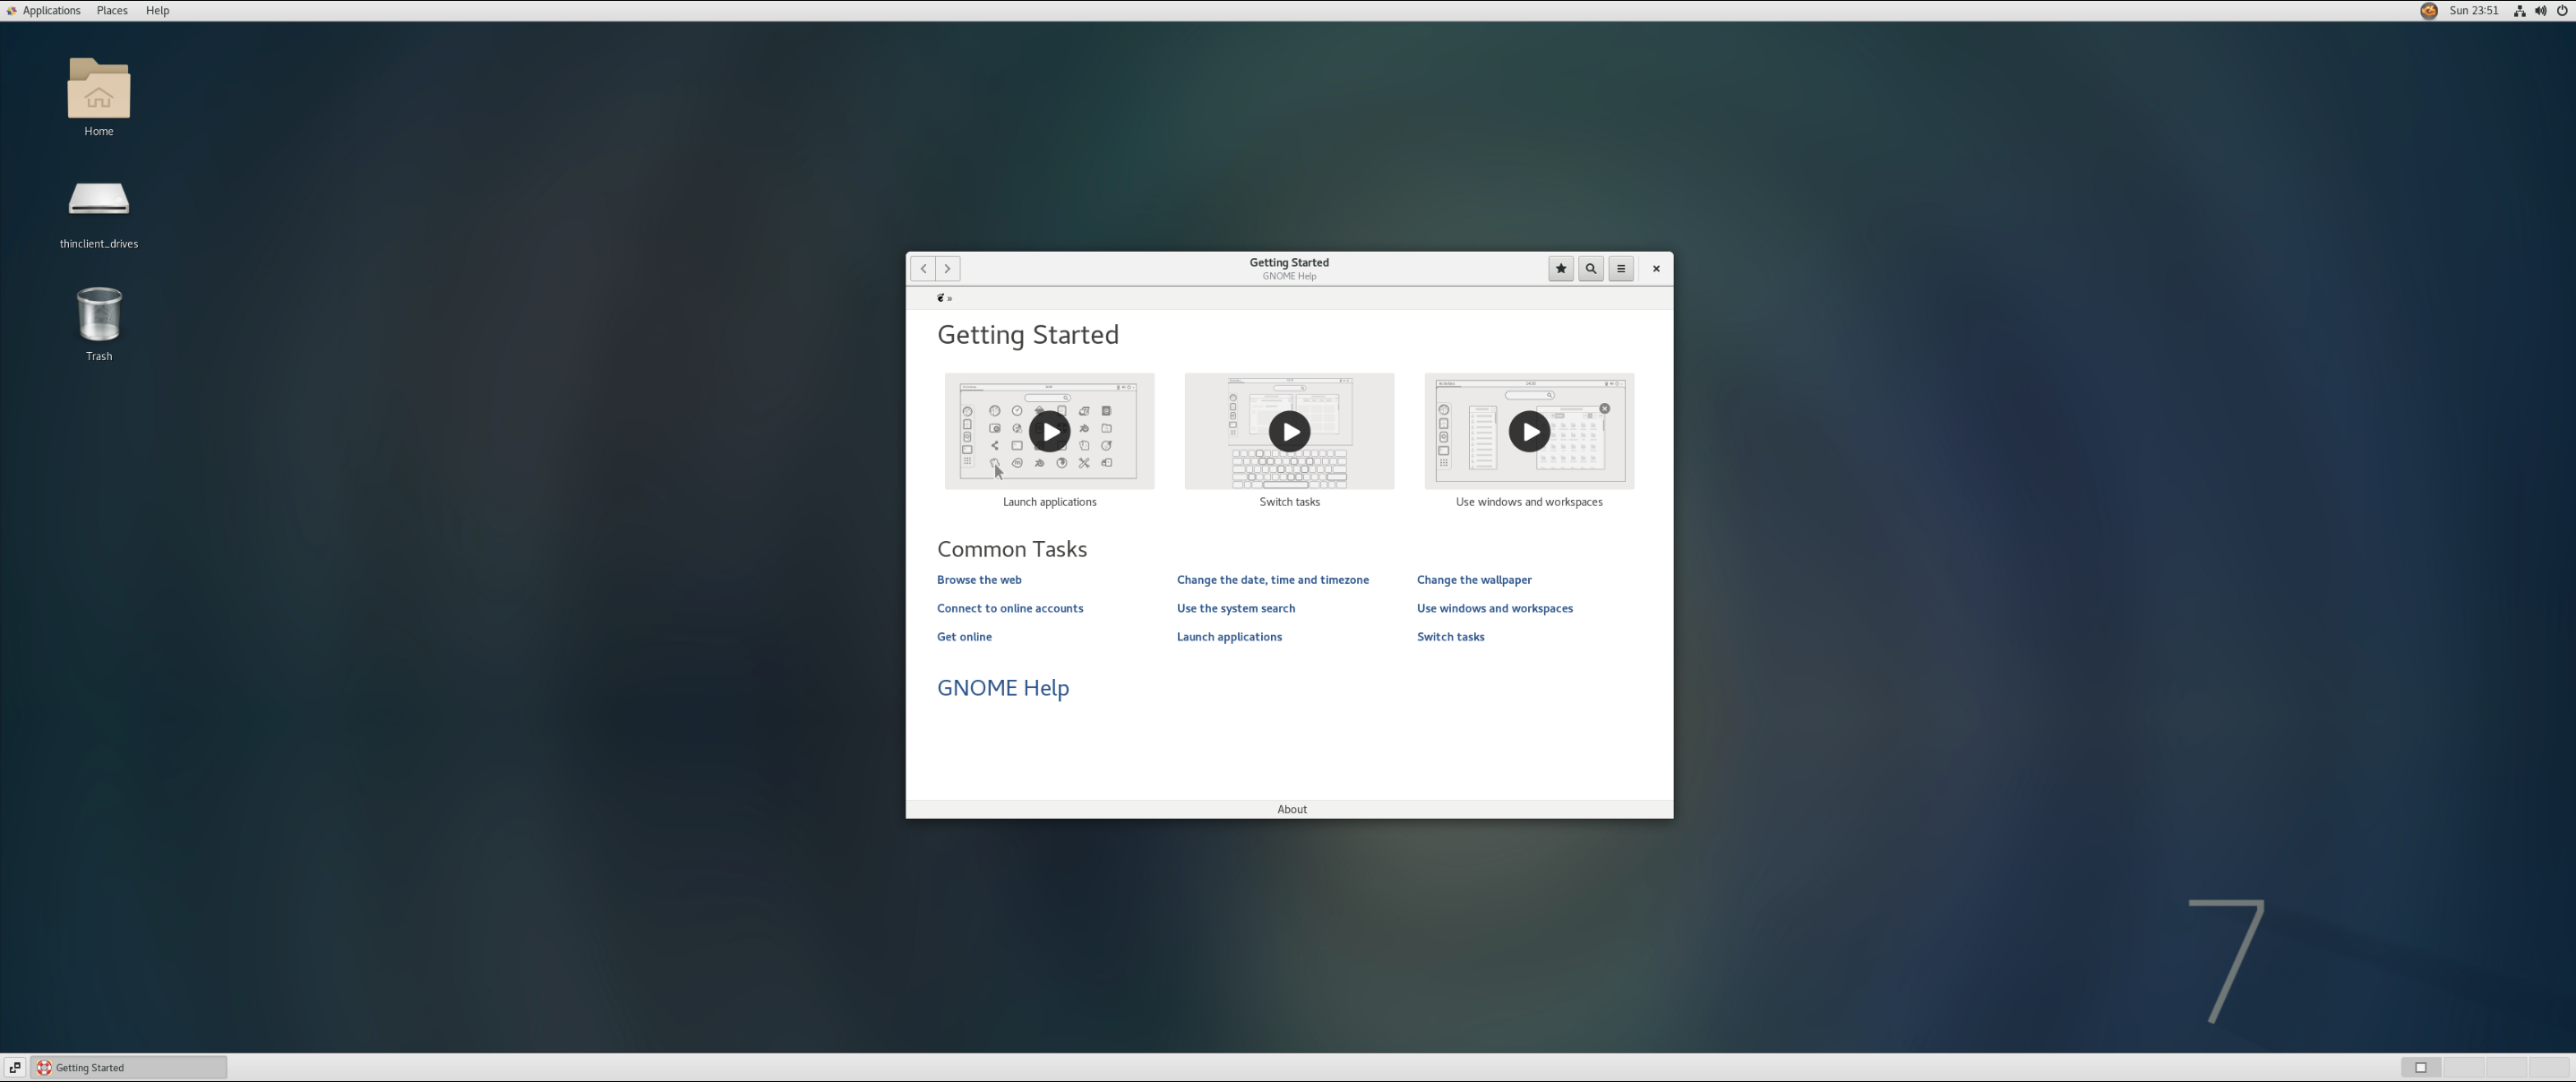
After entering your credentials you should have access to your desktop.
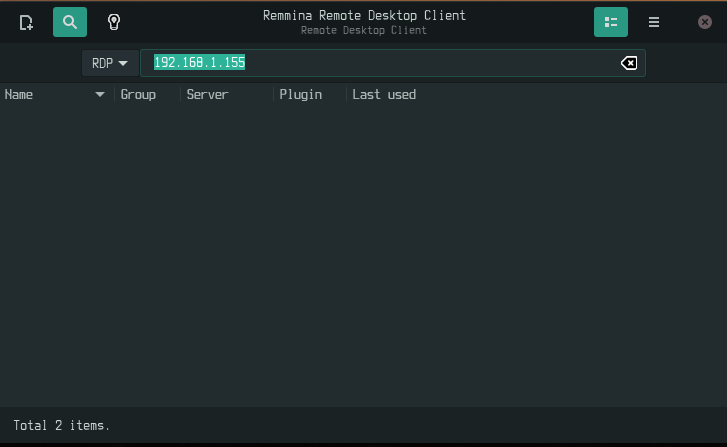
Remmina Remote Client (Linux)
To access from reminna, select RDP as the protocol to be used, as depicted in the next image:
After connect, enter your credentials as depicted next:
Great!...you should have access to your desktop.

Appendix: Using VirtualBox GUI to display GNome Desktop
VirtualBox gui can be enable inside boxes_config.yml file. Just change the gui property to true. Example:
| Code Block |
|---|
---
memory: 4096
cpus: 2
gui: true
boxes:
  - name: acs01
    ip_private: 10.10.10.10
    ip_public: 192.168.1.155
  - name: acs02
    ip_private: 10.10.10.11
ip_public: 192.168.1.156 |
With that you can
Once the credentials are entered just run startx as depicted:

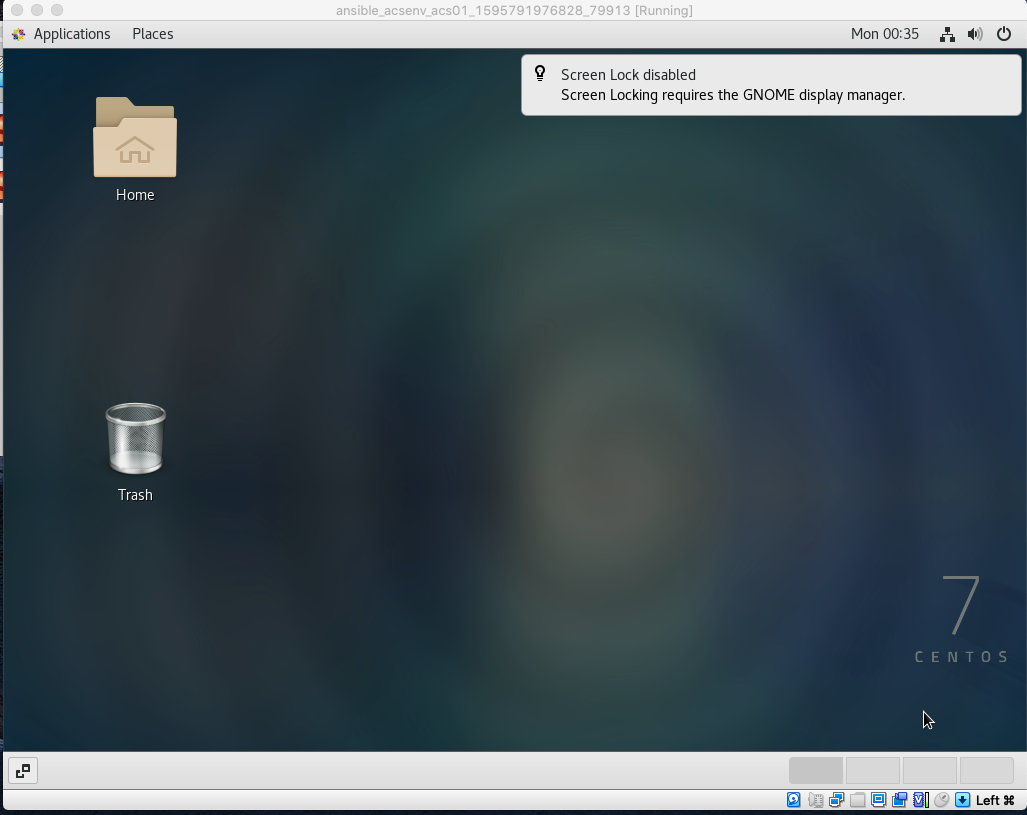
After that you'll have your GUI environment:
Appendix: How to connect to a VPN using OpenConnect
From inside the VM you can connect to a VPN using openconnect, which comes already installed in your VM. To connect against, let's say, <vpn_server> open a new terminal and execute:
| Code Block |
|---|
sudo openconnect <vpn_server> |
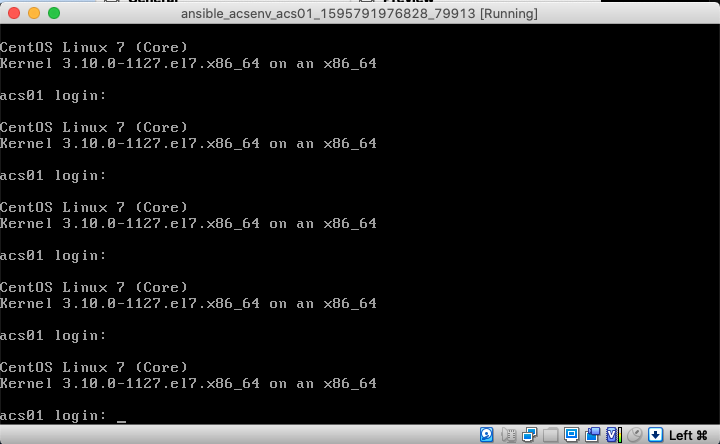
You'll be prompted to accept a certificate. Answer yes and enter your credentials when requested.❯ vagrant status acs01
Current machine states:
acs01 not created (virtualbox)❯ vagrant status acs01
Current machine states:
acs01 not created (virtualbox)